Welcome
to our Technique Blog Hop!
Stunning Stencils is the name of the game and this month
there are 15 of us highlighting the different ways to use them. This blog hop is a great big circle so you
can start wherever you want and continue through to see all the fabulous
artwork incorporating this technique. Enjoy!
If
you are coming from Danielle Edwards I Blog, you are on the right track!
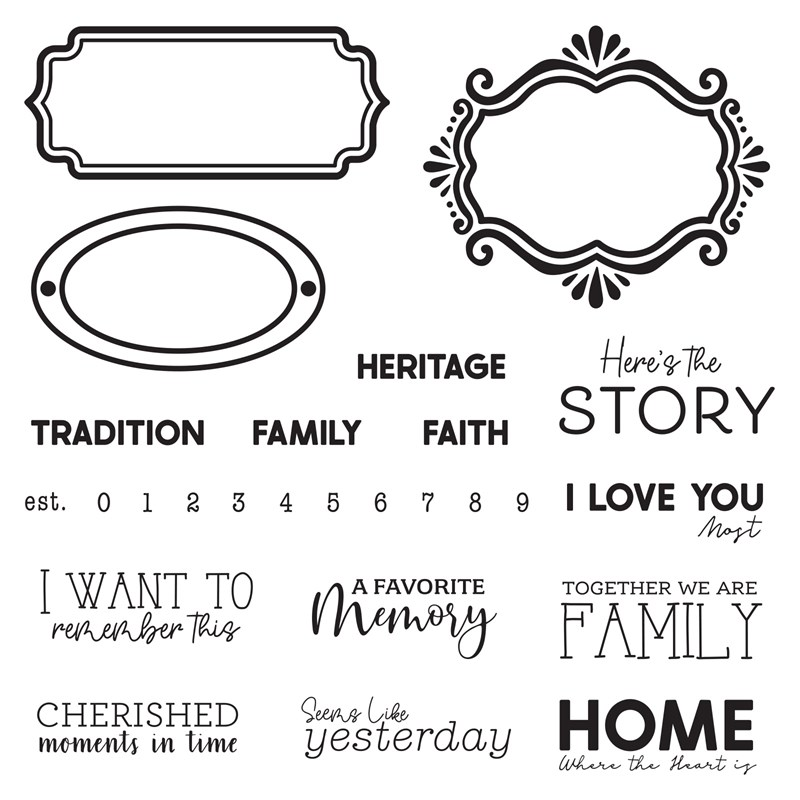
I decided to incorporate the stencil technique with the S2202-February Stamp of the Month- Here's the Story. I was challenged by this stamp set because it seems like it's made for Scrapbooks and Journals, but I was able to come up with three different card designs.
 |
| Heres the Story |
Using the X7277F Sawyer Digital Art Collection and a stencil sheet we used to carry, I cut my own stencil from the card overlay for my backgrounds.
I left the ink on the two stencils so you can see them better.
I blended the following Oxide Inks-
Z3828Tattered Rose
Z3835Seedless Preserves
Z3837Pumice Stone
Z3827Picked Rasberry and
Weathered Wood
on two of the backgrounds, I blended them together mixing colors and brushing them on the White Daisy cardstock. Spritz with water for a beautiful texture drying with your heat gun. Then, I used the stencil to add the darker Seedless Preserves color blending the color, mixing some other of the colors and adding designs where I wanted them using another stencil I had already cut from the X7276FSweet As Honey Digital Art Collection. I didn't cover the whole thing.
Spritz with water again and dry with your heat gun.
Flick White Gloss and let it dry.
The Tag Card I made with the Sawyer stencil and by using my finger dauber and Versa Mark.
This technique is called A Resist and I applied it to White Daisy.
I rubbed the Versa Mark through the designs of the stencil where I wanted them with the sponge dauber, which for the tag I placed them all towards the bottom.
I used Clear Embossing Powder to heat emboss this design.
Starting with Tattered Rose Oxide Ink, I blended at the top of the White Daisy adding Picked Rasberry to the middle and finishing with the Seedless Preserves.
You can use a kleenex or a soft rag to rub off the embossed design to make the white pop through. I spritzed the tag with water and used the heat gun. The key is to dry between layers.
I saw this technigue by Jennifer McGuire and wanted to try it.
Well, that's my technique using stencils. Hope you will try it.
Thanks
for stopping by! Please continue onto Michelle Loncar Blog where you will find some
additional artwork highlighting this technique!
Be sure to leave a comment and let me know what you thought of my
variation and happy hopping!


Love your stenciled backgrounds. Very pretty.
ReplyDeleteOooh, your cards are really cool! I love the stenciled backgrounds. I can't wait to try something similar. Thank you!
ReplyDeleteLove the colors you chose and great use of the stencils. So pretty!
ReplyDeleteThese are great, so many techniques to try!
ReplyDeleteLove your backgrounds. Awesome.
ReplyDeleteYour beautiful clusters and layers, really enhance your stenciling.
ReplyDeleteWOW...what a great use of that digital image set...and those flowers! What a GREAT technique!
ReplyDeleteBeautiful cards! I love the color and the layers!
ReplyDeleteThe background you created are so pretty
ReplyDeleteGreat minds think alike- I love how you used this same stencil but on a card! Those colours are so dreamy together and thew pops of black make it really stand out.
ReplyDeleteGorgeous!!!
ReplyDelete