I never realized untill I started creating cards then scrapbook pages how much I enjoy creating with paper, inks and stamps. Since I started this adventure of creativity, I had to recall my one and only year in High School I took Art. One project we made started with a drawing of a still life. I remember mine had a pitcher in it and probably other things that slip my mind but, I certainly remember the pitcher. We took those drawings and cut each object out of colored construction paper and glued them down on a base page of construction paper. At that point they looked like plain cut outs, very flat and undimensional, blah and boring. Then, we added something that started my heart pounding, and the hair to raise up on my neck!
This is a very typical reaction of excitement to this sort of thing, sorry.
We took chalks and added shading and shadows and made the flat, boring things come alive and look 3 dimensional and real! I remember that project being my favorite thing I had ever done.
Now, today, I can do this same thing with stamps, or just cutting something out with my Cricut and adding chalks, or markers or use water color brushes dippped in the ink on the lids of my stamp pads. And, yes, the hair still raises on the back of my neck and my heart pounds with excitement because it just hits me that way!
Wednesday, May 19, 2010
Wednesday, May 12, 2010
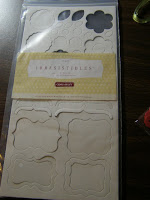
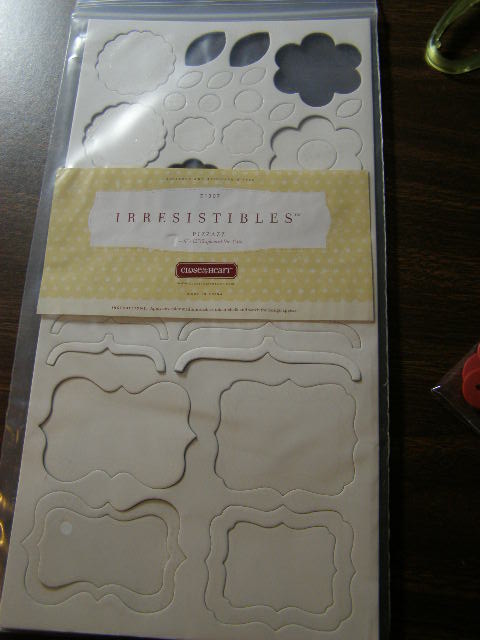
Our New Irresistibles
Our new Summer Idea Book and


 Voila! The card is a pattern from our Card Program Book called Wishes. You will find it on page 89 called File Pocket. Try the Irresistibles for yourself on one of your own projects!
our April-May Scrapbook Kit
A Miracle Awaits You feature
a new product called Irresistibles.
A great chipboard product with
an extra pizazz. You can color
them with stamp pads, markers,
watercolors and chalk. Below,
I show how to color the flower
and leaves with a stamp pad
(using a sponge)and markers.
For this card I used:
X7123B Cherry-O Level 2 Paper Pack
Z2108 Chocolate Stamp Pad
Z2153 Sweet Leaf Stamp Pad
Z2166 Tulip Stamp Pad
Z2111 Crystal Blue Stamp Pad
Z2167 Creme Brulee Stamp Pad
Z2162 Honey Stamp Pad
Z2331 Key Lime Marker
Z2355 Topiary Marker
Z2266 Tulip Marker
Z2364 Sorbet Marker
Z2355 Topiary Marker
Z2266 Tulip Marker
Z2364 Sorbet Marker
Z1307 Irresistibles
Z1320 Tulip Mini Medleys
Z1320 Tulip Mini Medleys


Take a look at this Irresistible piece, can you see the little designs? They are going to pop out when we add the color.
First, I took the Sorbet Marker and colored the tiny seed looking designs.


I used Tulip Marker and colored in the rest of the flower and used the sponge to swab the extra color. Then, I took the sponge and dabbed it in a Chocolate Stamp pad and sponged the edges.

The center was colored first with Creme Brulee then edged with Honey and Chocolate.
Glue it to the center of the flower.

The leaves are Key Lime in the center and Topiary on the outside. Sponge the color to take off the extra.

Take the Chocolate Marker and put the dots all around the Sweet Leaf and Crystal Blue pieces.
 Voila! The card is a pattern from our Card Program Book called Wishes. You will find it on page 89 called File Pocket. Try the Irresistibles for yourself on one of your own projects!
May Stamp of the Month

X7123B-Cherry-O Level 2 Paper Pack
Z2111- Chocolate Stamp Pad
Z2153- Sweet Leaf Stamp Pad
Z2166- Tulip Stamp Pad
Z1320- Tulip Mini Medley Accents Collections
Z578- Corner Rounder
Z608- Dry Embossing/Scoring Tool
Z338- Euro Personal Paper Trimmer
Z2353-Sweet Leaf Marker
I took the Paper Trimmer and using the cutting channel and the dry embossing tool, scored the lines on the Tulip cardstock. I used the various stamp pads to shade the edges of the Sweet Leaf and Tulip pieces. I used the Sweet Leaf Marker and added the stitching lines around the Sweet Leaf piece. I really like this paper and the stamp sets that go with it.
Subscribe to:
Posts (Atom)